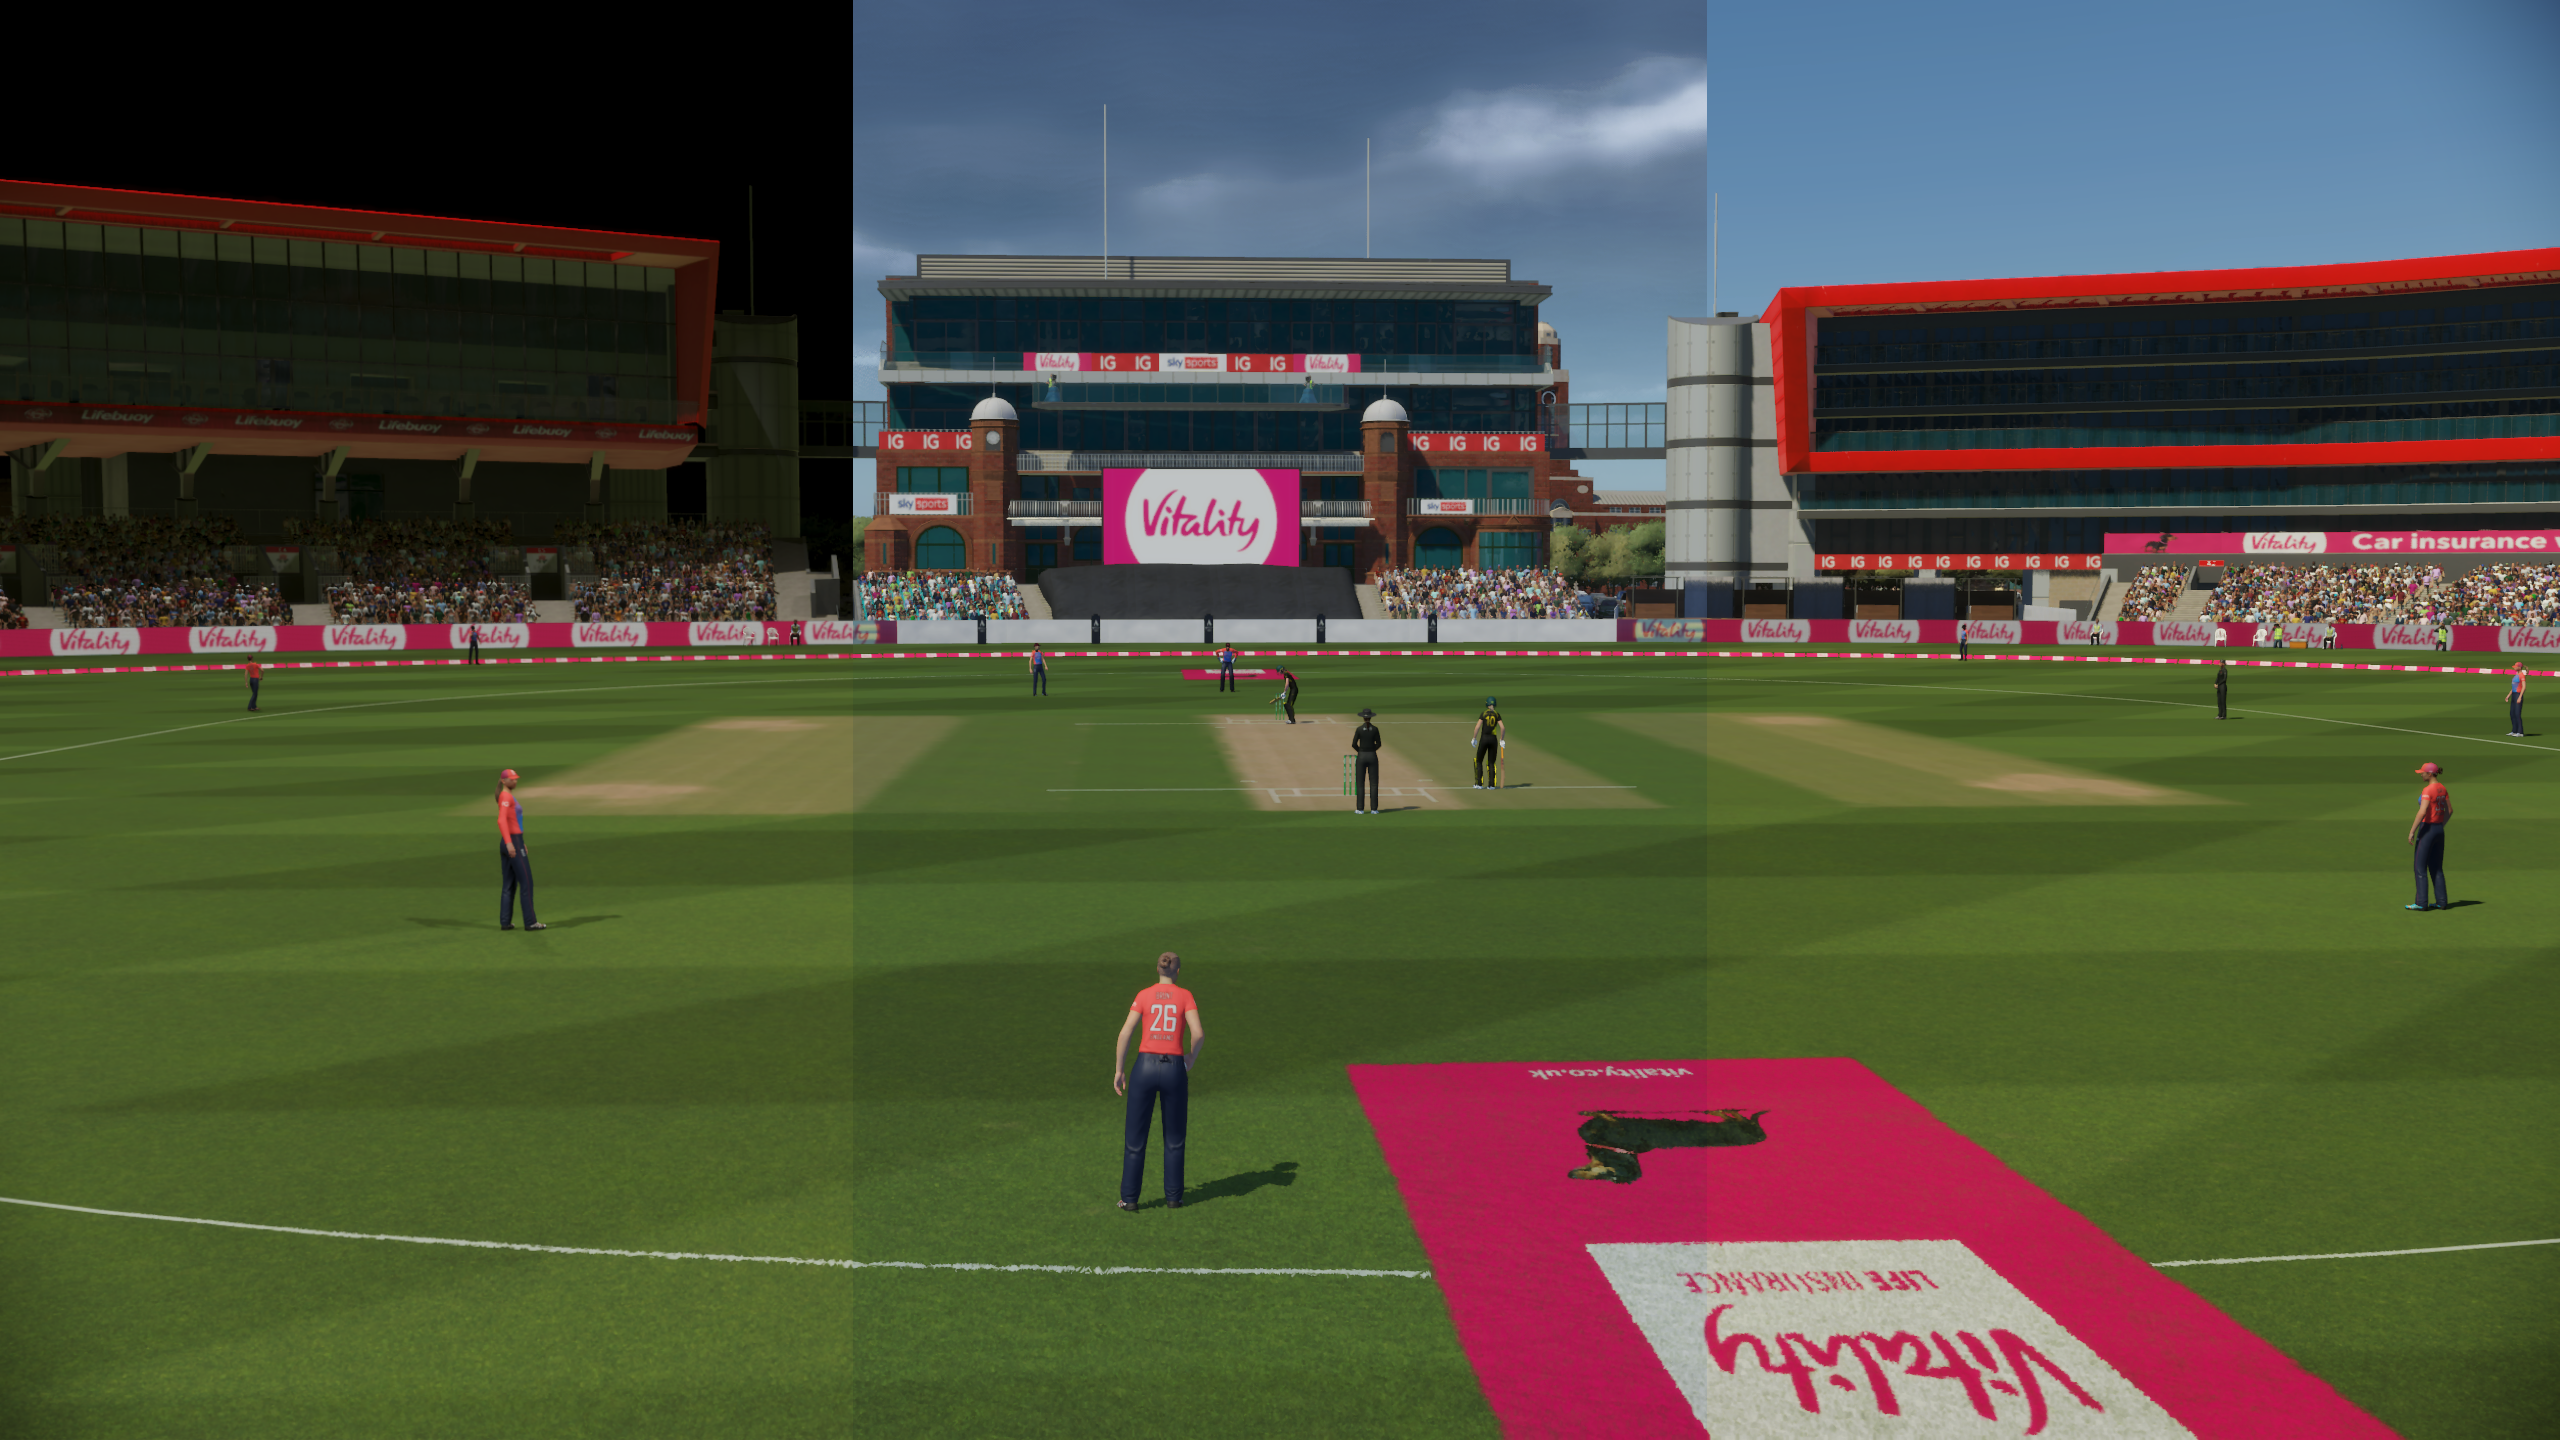
Auto Exposure

Preamble
We treat auto-exposure as multiplier on the raw lighting pass in our game, which can brighten or darken our scene. This is to emulate our eyes and cameras which adapt to different lighting environments, in a dark room we can see more after our eyes adjust. In terms of the game it makes your artist’s life much easier when it comes to lighting their scenes. Especially useful for dynamic enviornments like day/night cycles and weather effects.
Quickly Explain
To detect the brightness of a scene we take the average luminance of the HDR colour buffer (output of our lighting pass) using a compute shader that sums up each texel’s luminance. This is done in two passes, the first sums it all into a 16x16 texture, the second sums and blends that value with the old luminance value. This luminance value is later used to calculate the exposure in the tonemapping step, which premultiplies the colour buffer. The way exposure is calculated is relative to the KeyValue which represents the desired average luminance which by default it 0.18 called middle grey in photography.
Research Links
- MJP's Baking Lab: great example of a number of post effects including expsoure.
- Implementing PBR camera exposure: math behind the camera.
Fully Explain
To detect the brightness of a scene we take the average luminance of the HDR colour buffer (output of our lighting pass) using a compute shader that sums up each texel’s luminance. This is done in two passes, the first dispatch runs through each pixel, it is optimised by working on a 2x2 tile and sampling the 2x2 texel corners using bilinear filtering to get an effective 4x4 sample in total. Each sample’s luminance is calculated and converted from a float into a uint to make later use of InterlockedAdd. These 4x4 uint luminance values are summed and stored in groupshared memory, and GroupMemoryBarrierWithGroupSync() is called to guarantee all threads have calculated this value.
    // We work on a 4x4 tile, using linear sampling on the corners of a 2x2 tile
    float2 rcpRes = rcp(float2(textureWidth, textureHeight));
    uint2 idScaled = id.xy * 4;
    // snap to corners of 2x2
    float2 uv0 = float2(idScaled + uint2(1, 1)) * rcpRes;
    float2 uv1 = float2(idScaled + uint2(3, 1)) * rcpRes;
    float2 uv2 = float2(idScaled + uint2(1, 3)) * rcpRes;
    float2 uv3 = float2(idScaled + uint2(3, 3)) * rcpRes;

    uint lumSample = 0;
    lumSample += FloatToUintLumRange(CalcLuminance(texture.SampleLevel(ClampedLinear, uv0, 0).rgb));
    lumSample += FloatToUintLumRange(CalcLuminance(texture.SampleLevel(ClampedLinear, uv1, 0).rgb));
    lumSample += FloatToUintLumRange(CalcLuminance(texture.SampleLevel(ClampedLinear, uv2, 0).rgb));
    lumSample += FloatToUintLumRange(CalcLuminance(texture.SampleLevel(ClampedLinear, uv3, 0).rgb));

    sharedSamples[ThreadIndex] = lumSample;
    GroupMemoryBarrierWithGroupSync();
Finally using prefix sum all the groupshared values are summed together, which is a common optimisation in compute shaders. These results are stored output into a 16x16 texture using InterlockedAdd(), which can only be used with uints. Even though we have more that 16x16 values to store we just wrap around the output texture, as all we care about is summing values.
    [unroll(NUM_THREADS)]
    for (uint s = NUM_THREADS >> 1; s > 0; s >>= 1)
    {
        if (ThreadIndex < s)
            sharedSamples[ThreadIndex] += sharedSamples[ThreadIndex + s];

        GroupMemoryBarrierWithGroupSync();
    }

    if (ThreadIndex == 0)
    {
        InterlockedAdd(outputMap[GroupID.xy & 15], sharedSamples[0]);
    }
The second pass we call one dispatch where we now read our 16x16 uint RWTexture in a 2x2 pattern. Treating these uints as floats we prefix sum them again to finally get our total luminance value of the entire frame. In the final step we convert the sum back into our float range and calculate the average. Since we used bilinear sampling earlier we must multiply the total luminance by 4.0 to compensate and then divide by the total texel count. Now just blend the result with the old value to get some nice adaptative exposure.
        float currentLum = UintToFloatLumRange(sharedSamplesF[0] * 4.0 / float(totalTexels));
        currentLum = exp(float(currentLum));
        float lastLum = outputBuffer[0];

        // do some blending between them
This exp(luminance) value is stored to use later in our tonemapping as a premultiplication of the HDR colour. The exposure is adjusted to the KeyValue which defines what we want our average luminance to reach (the goal of the auto-exposure). The KeyValue is typically 0.18, this is called middle grey in photography terms, it can be adjusted depending on how bright or dark you want the game overall.
float3 CalcExposedColor(float3 color, float avgLuminance)
{
    float linearExposure = (autoKeyValue / avgLuminance);
    return linearExposure * color;
}
End Notes
The idea is very simple, the optimisation of the implementation makes it more complicated but it was a great learning experience in compute shaders. This runs extremely fast on PS4 and Xbox One. The main draw back in using frame luminance average is it can be dramatically shifted by a few very bright or dark pixels. To avoid this we just clamp the accepted luminance values to make sure we do not consider any too extreme values.