Tech Notes: Origami Ninja Star
Preamble
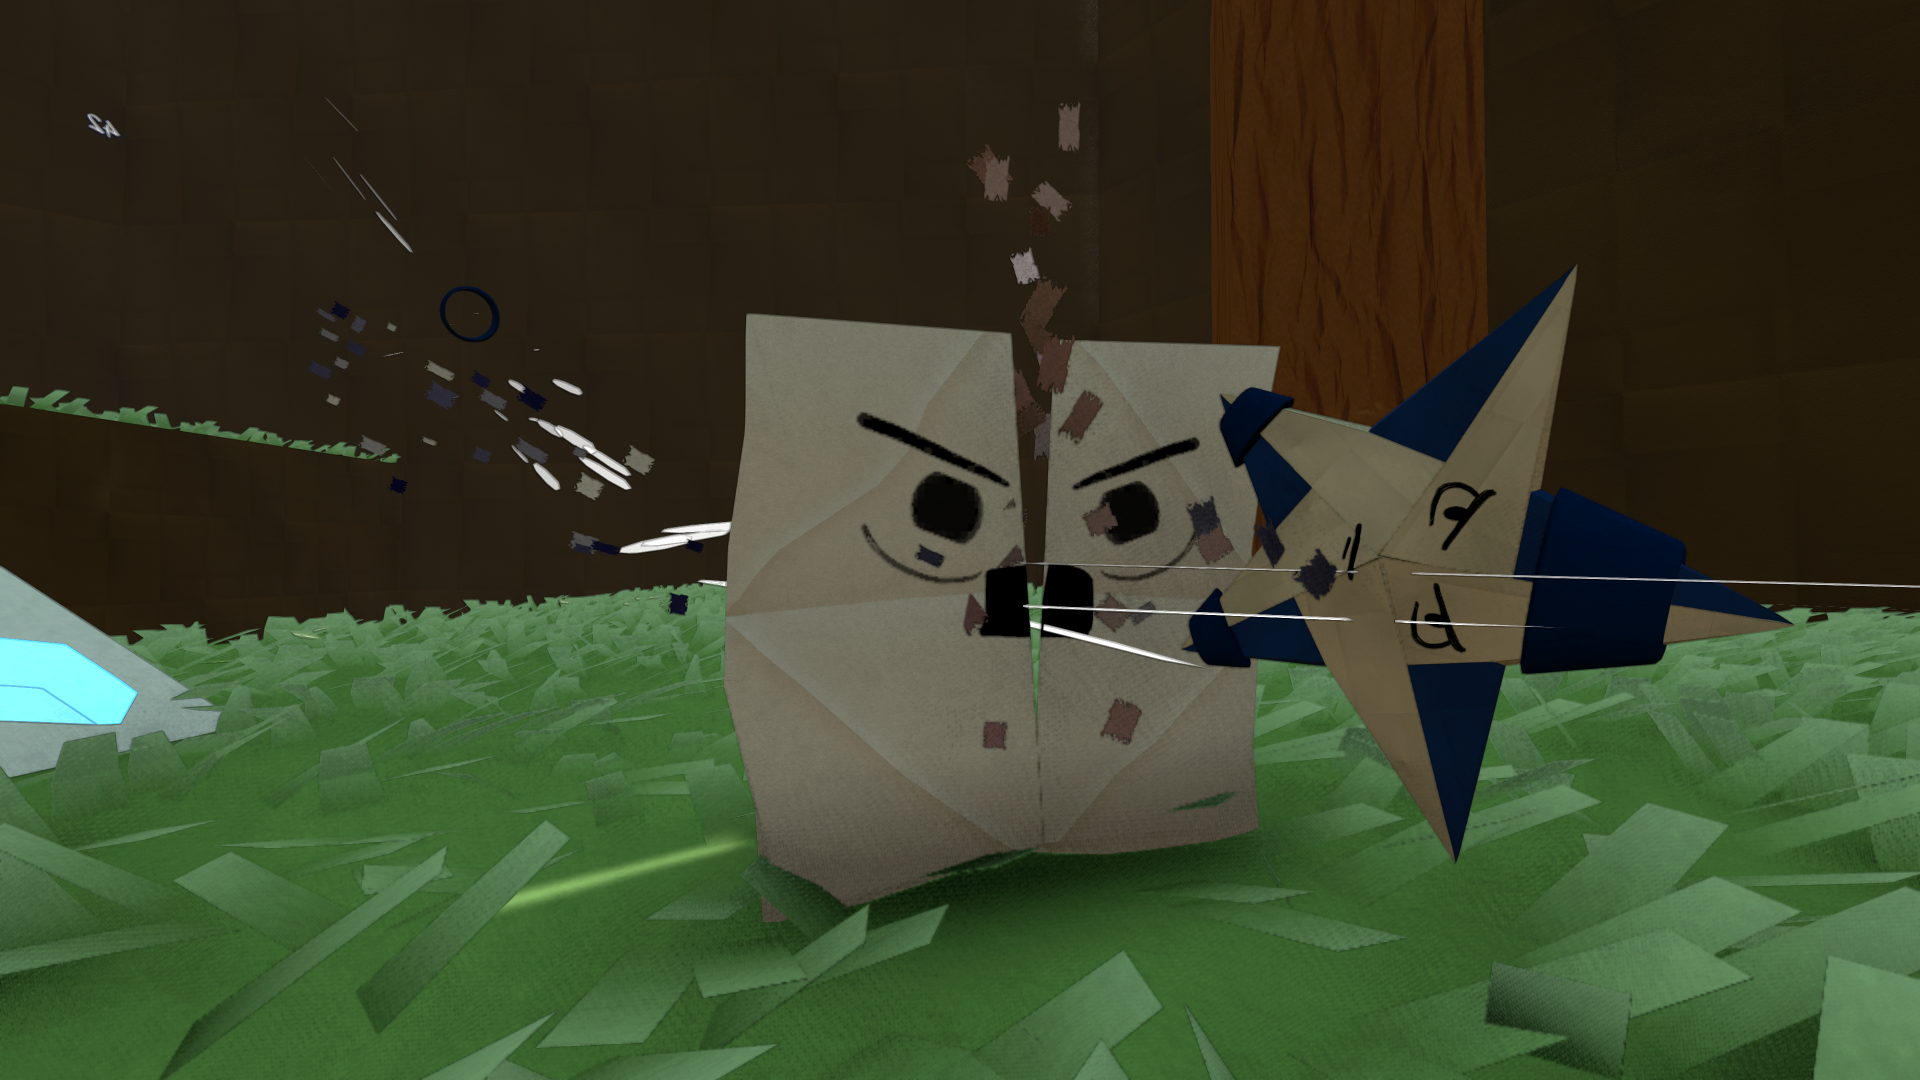
These are miscellaneous notes on the technology of Origami Ninja Star, my solo developed game using Unity. Still in development so this page will be updated along the way!
Unity
Unity has gone through many phases, but in general I find it lately a bit more positive. But Origami was started early in my game dev career, so Unity was the most approachable engine at the time. If I were to start again I probably would go Godot since I prefer being able to customise the engine now that I have more experience.
My Universal Render Pipeline (URP) Setup
I’m using the Unity Universal Render Pipeline since it is a stylized game and really doesn’t need a lot of the full photorealistic lighting model. Plus I’d like the game to run on mobile and tablets.
I use the Forward+ rendering path with no depth prepass. Forward+ uses clustered lighting, which is nice although I do not use many lights. Avoiding a depth prepass is good since the structure of Origami makes most shapes simple does not produce much overdraw.
The shader structure of URP provides 3 different levels of complexicity: SimpleLit, Lit and ComplexLit. These three shaders provide different workflows and features for materials.
SimpleLit
SimpleLit is a straight forward Lambert diffuse with optional BlinnPhong specular lighting + specular map. A shortened version of the Unity code for SimpleLit lighting calculation.
half3 CalculateBlinnPhong(Light light, InputData inputData, SurfaceData surfaceData)
{
    half3 attenuatedLightColor = light.color * (light.distanceAttenuation * light.shadowAttenuation);
    half3 lightDiffuseColor = LightingLambert(attenuatedLightColor, light.direction, inputData.normalWS);
    half3 lightSpecularColor = half3(0,0,0);
    #if defined(_SPECGLOSSMAP) || defined(_SPECULAR_COLOR)
	    half smoothness = exp2(10 * surfaceData.smoothness + 1);
	    lightSpecularColor += LightingSpecular(attenuatedLightColor, light.direction, inputData.normalWS, inputData.viewDirectionWS, half4(surfaceData.specular, 1), smoothness);
    #endif
    return lightDiffuseColor * surfaceData.albedo + lightSpecularColor;
}
Lit and ComplexLit
Lit changes to the more realistic CookTorrance BRDF (lightweight version) which is approaching the typical lighting model used in realistic games. ComplexLit seems to follow the same Lit path of CookTorrance but with additional features such as Clearcoat and is always forward rendered. Great resource on specular brdf
And talk on the basis of BRDF with physical based rendering
A shortened version of the Unity code for Lit lighting calculation.
half DirectBRDFSpecular(BRDFData brdfData, half3 normalWS, half3 lightDirectionWS, half3 viewDirectionWS)
{
    float3 lightDirectionWSFloat3 = float3(lightDirectionWS);
    float3 halfDir = SafeNormalize(lightDirectionWSFloat3 + float3(viewDirectionWS));

    float NoH = saturate(dot(float3(normalWS), halfDir));
    half LoH = half(saturate(dot(lightDirectionWSFloat3, halfDir)));
    float d = NoH * NoH * brdfData.roughness2MinusOne + 1.00001f;

    half LoH2 = LoH * LoH;
    half specularTerm = brdfData.roughness2 / ((d * d) * max(0.1h, LoH2) * brdfData.normalizationTerm);
    return specularTerm;
}
BRDF mainly impacts the specular function which is not very useful in a world made in PAPER, where the speculars are quite low…
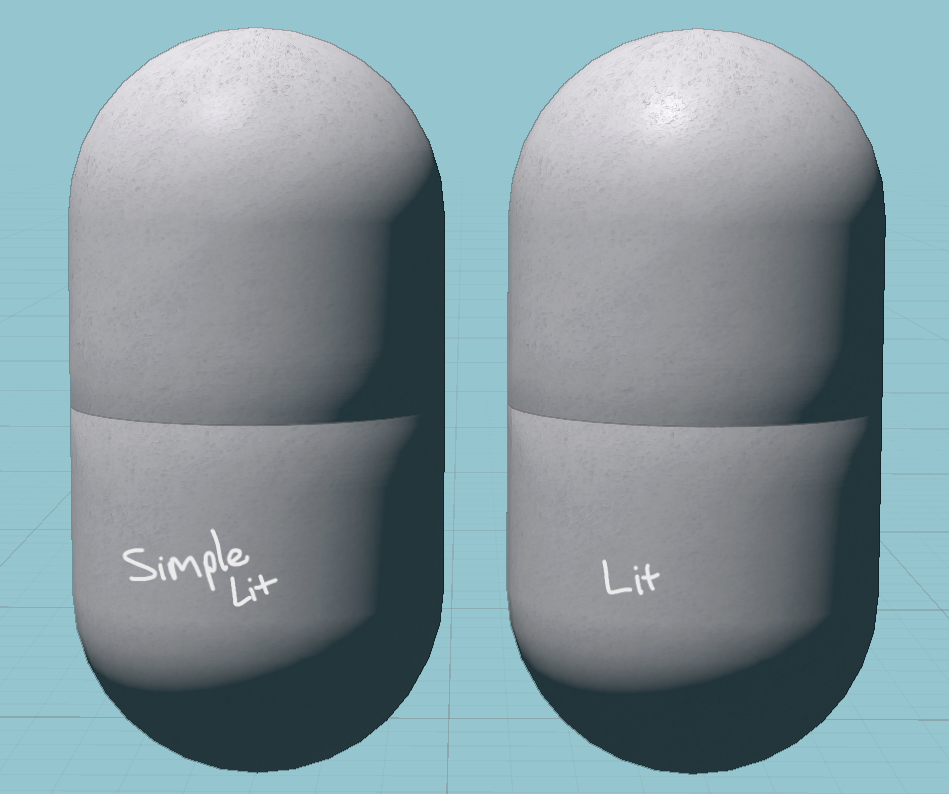
So I primarily use SimpleLit as without specular having much visual impact I don’t need the extra cost of more realistic specular responses.
While Unity have removed Surface shaders (Block shaders are coming EVENTUALLY) in favour of shader graph, I think programming is much faster and easier. So I duplicate the SimpleLit shader and make my own alterations to it where required. This means the shaders will also be SRP Batcher compatible meaning Unity can batch the related buffers to improve CPU performance when rendering.
For example in the procedural levels I have made a custom SimpleLit which handles vertex deformation during scene transitions, and dynamic global colours palettes in the fragment shader.
The post-processing stack is fairly small including:
- SMAA
- SSAO (A stylized variant which applies shading on the final image so no depth prepass)
- Bloom
- Custom edge detection pass to add sketchy line work to the world
- DOF (sometimes)
Procedural Levels
Room Floorplans
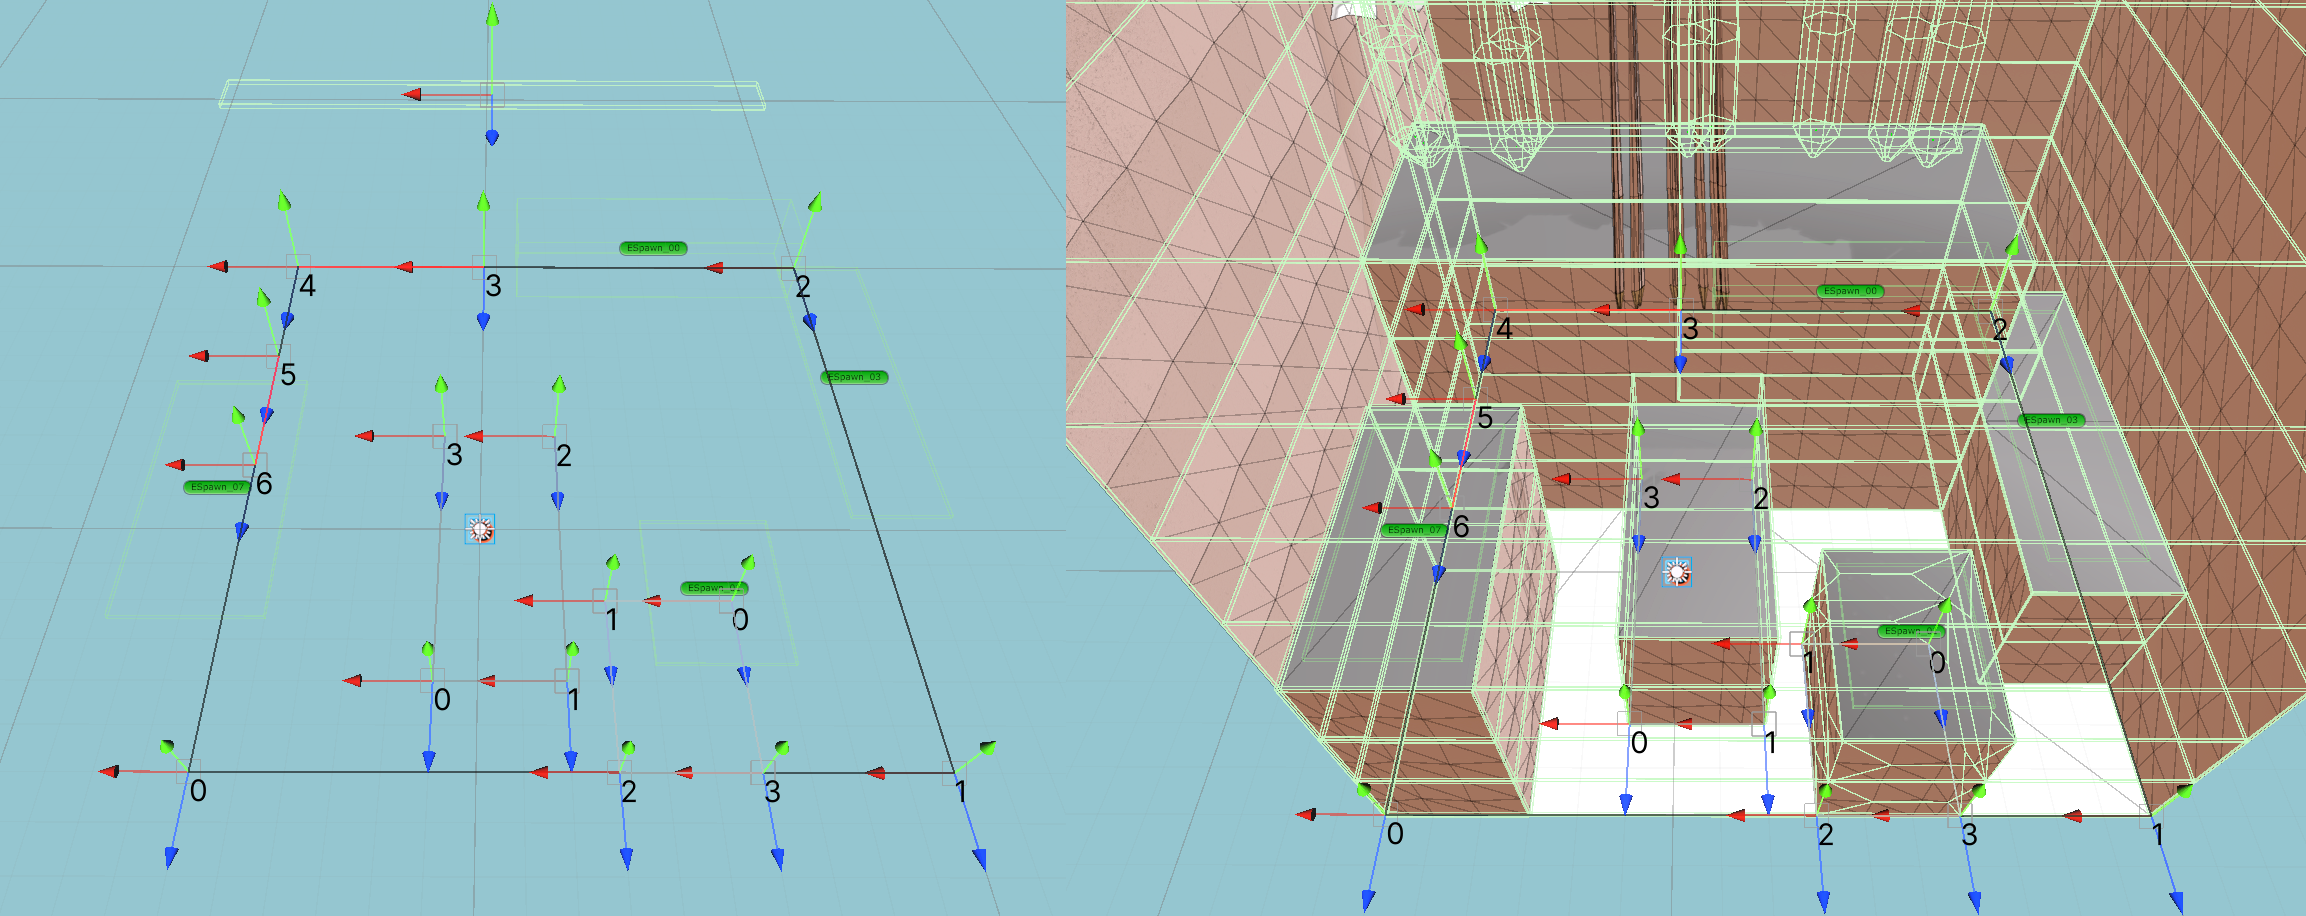
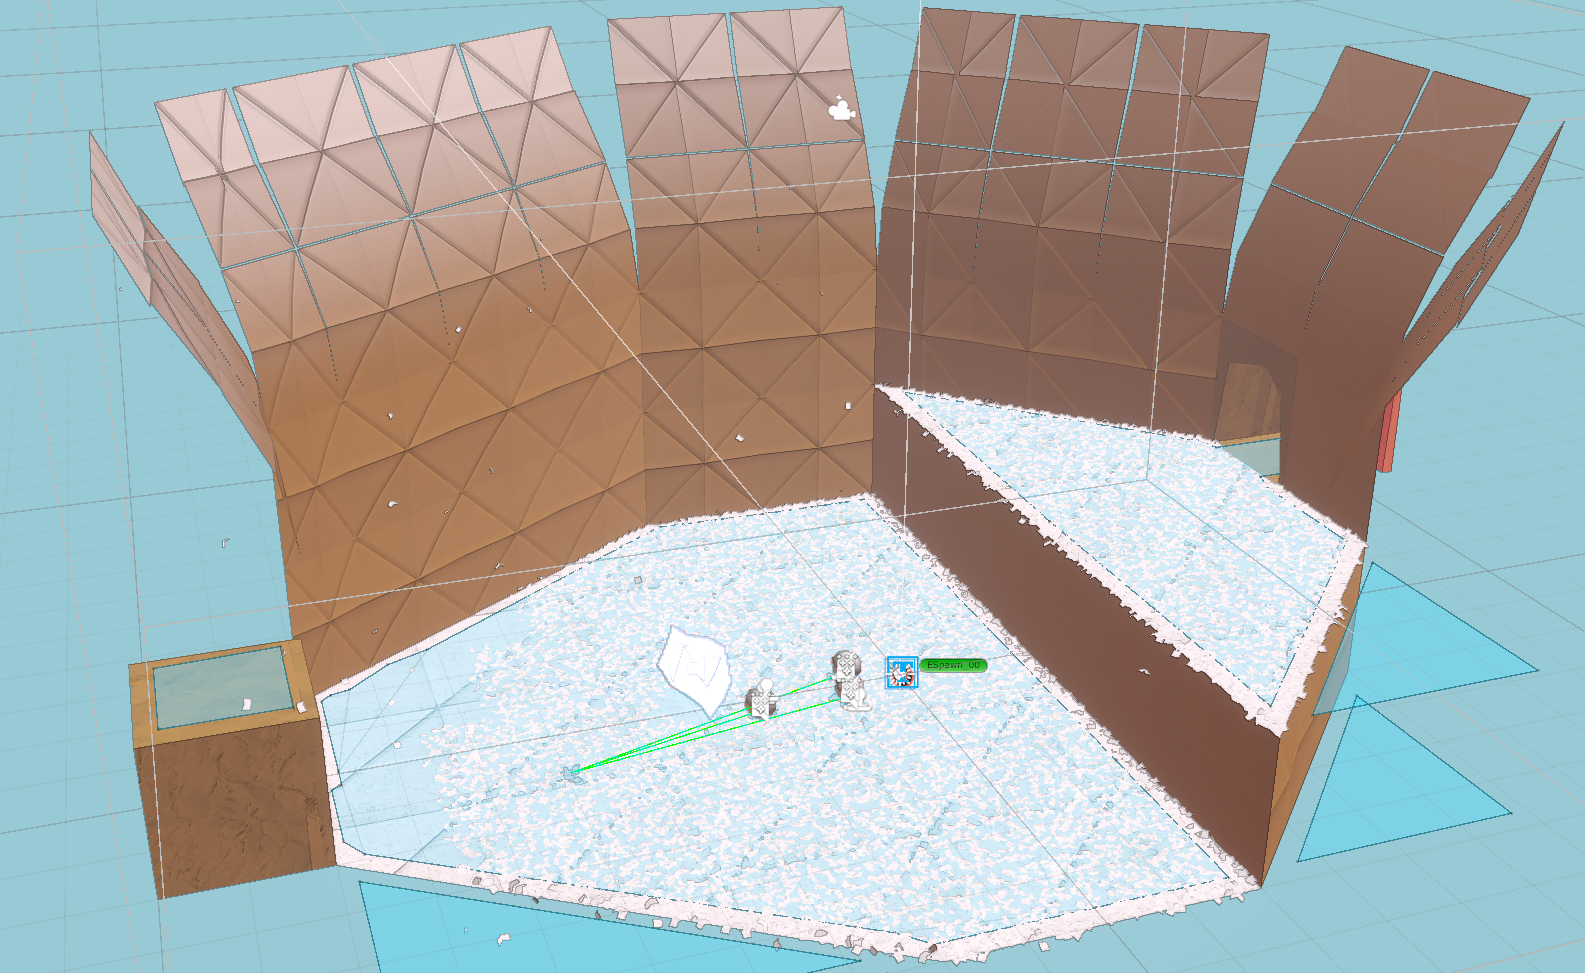
Each level in the main game is a series of randomly selected rooms, each room has a layout or floorplan made out of lines, like the blueprint of a house. These lines are created from a custom editor within Unity, where you can design the room map. The floorplan determines walls, platforms, valid door placements, prop/foliage, enemy types, counts and location.
Floorplant before and after:
Meshing
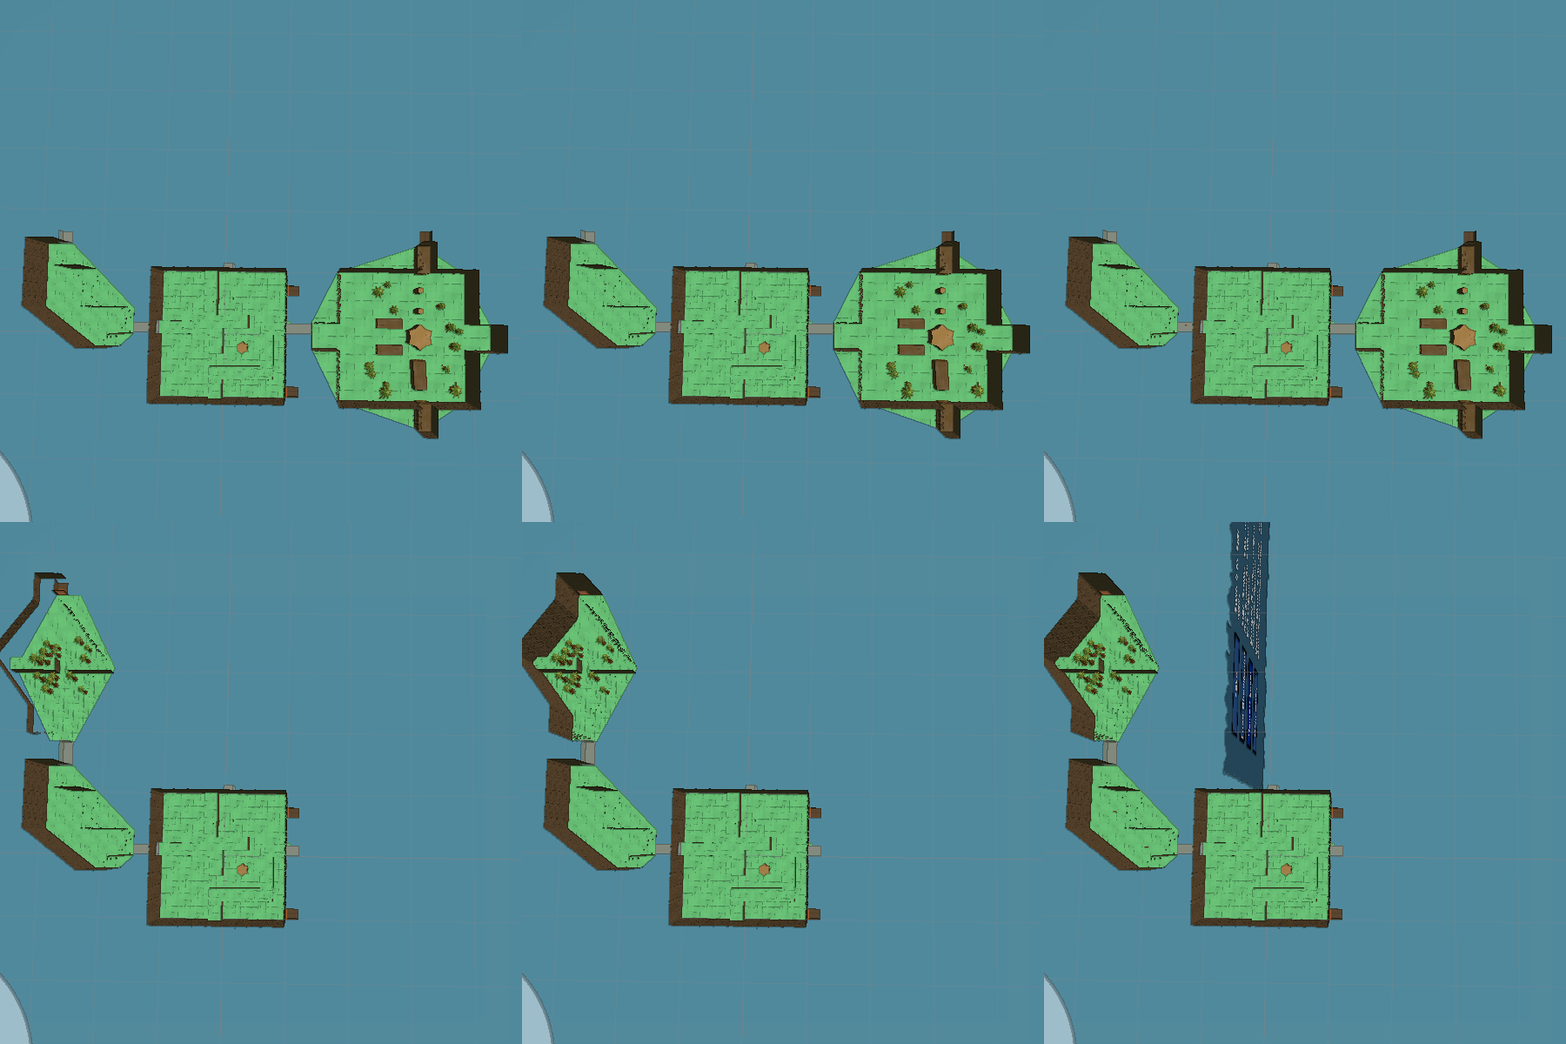
Floorplans are then constructed through a series of quads shaped meshes. Floors are generated in realtime in most cases (unless some complex floor geometry is required). Prop prefabs are distributed across declared zones, this is the only case of instantiation. Each of these are pulled from level specific biome data which include colour palettes, wall meshes (which can contain submeshes), floor materials, and prop prefabs. These steps are all timesliced and loaded while the player enters the adjacent room.
Realtime Level Gen:
Mesh Tiles:

Using the Unity profiler I was able to optimise this fairly well and in most cases it was simply avoiding any copying (C# things) or instantiating (Unity’s greatest pain). For walls each quad mesh is selected (weighted random) and its mesh and materials is added to a list. This list of meshes and materials is sent to be combined through Unity’s CombineMeshes() function.
public void MeshCombineObjectPool(Transform parent, Mesh[] meshes, Matrix4x4[] localToWorlds, Material[][] materials)
{
	// Each material has a mesh combine list.
	s_perMatCombines.Clear();
	s_uniqueMaterials.Clear();

	// Construct CombineMesh structs and group based on materials across all meshes given
	List<CombineInstance> matList;
	for (int i = 0; i < materials.Length; i++)
	{
		for (int j = 0; j < materials[i].Length; j++)
		{
			if (s_uniqueMaterials.Add(materials[i][j]))
				s_perMatCombines[materials[i][j]] = matList = new List<CombineInstance>();
			else
				matList = s_perMatCombines[materials[i][j]];

			matList.Add(new CombineInstance()
			{ mesh = meshes[i], subMeshIndex = j, transform = localToWorlds[i] });

		}
	}
	matList = null;

	// For each unique material
	foreach (Material mat in s_uniqueMaterials)
	{
		Mesh sharedMesh = new Mesh();
    		// Use unity's combine meshes function which runs pretty fast
		sharedMesh.CombineMeshes(s_perMatCombines[mat].ToArray(), true);
    		// Grab a gameObject we previously created which already has the components we want
		MeshObjectPool.MeshObject poolObject = MeshObjectPool.GetPooledMeshObject();

		Transform meshTransform = poolObject.Transform;
    		GameObject meshGameObject = meshTransform.gameObject;
		meshGameObject.isStatic = true;
		meshTransform.SetParent(parent, false);
    		poolObject.m_filter.sharedMesh = sharedMesh;
    		poolObject.m_renderer.material = mat;
    		poolObject.m_renderer.shadowCastingMode = ShadowCastingMode.TwoSided;

		if (useBoxColliders)
    		{
			poolObject.m_boxCollider.center = sharedMesh.bounds.center;
			poolObject.m_boxCollider.size = sharedMesh.bounds.size;
			poolObject.m_boxCollider.enabled = true;
		}
    		else
    		{
			poolObject.m_meshCollider.sharedMesh = sharedMesh;
			poolObject.m_meshCollider.enabled = true;
    		}
		// Inflate bounds to stop culling since custom vertex deformation is used.
    		Bounds sharedMeshBounds = sharedMesh.bounds;
    		sharedMeshBounds.Expand(GetScale().y);
    		sharedMesh.bounds = sharedMeshBounds;
    		// add to our pool list so we can keep track on destroy/release
		m_pool.Add(poolObject);
	}
}
This function also makes use of our biggest optimisation, PooledMeshObjects. This is extremely simple and a classic Unity optimisation, I instantiate a big amount of GameObjects with desired components at load time. Then in realtime scenarios I simply grab a GameObject from this pool instead of instantiating (which is SUPER slow). This pooled GameObject holds the mesh rendering and collider components for our wall which was made of separate quads but now combined into a single mesh object.
Snippet of pooled object functions.
private static Stack<MeshObject> s_meshObjectStack;

public MeshObjectPool(Transform parent, int desiredPoolCount)
{
	s_parent = parent;
	s_meshObjectStack = new Stack<MeshObject>(desiredPoolCount);
	for (int i = 0; i < desiredPoolCount; i++)
	{
		GameObject meshGameObject = new GameObject("Pool - MeshObject");
		meshGameObject.SetActive(false);
		meshGameObject.transform.SetParent(parent, false);
		s_meshObjectStack.Push(new MeshObject(meshGameObject.transform,
		meshGameObject.AddComponent<MeshFilter>(),
		meshGameObject.AddComponent<MeshRenderer>(),
		meshGameObject.AddComponent<BoxCollider>(),
		meshGameObject.AddComponent<MeshCollider>())
		);
	}
}

public static MeshObject GetPooledMeshObject()
{
	return s_meshObjectStack.Pop();
}
Floors are generated through a convex mesh generator, and since there is usually only one or two floors it can just run in realtime.
Finally I also timesliced this so it would run without stutters on mobile. When loading a node I simply run the Update() function in a state machine until it is complete, so far the different states involve Geometry and Enemy generating.
private void Update()
{
	switch (m_updateState)
	{
		case UpdateState.None:
			IsUpdating = false;
			break;
		case UpdateState.Geometry:
			{
				int result = 1;
				result *= m_geometry.UpdatePlaceMeshes();
				int length = m_geometryChildren.Length;
				for (int i = 0; i < length; i++)
				{
					result *= m_geometryChildren[i].UpdatePlaceMeshes();
				}

				if (result > 0)
				{
					m_slicesLoaded = 1; // makes it compatible with the coroutine version
					CompleteGeometryCoroutine(m_manager);
					IsUpdating = false;
					m_updateState = UpdateState.None;
				}
			}
			break;
		case UpdateState.EnemySpawning:
			{
				if (Data.SpawnEnemyWaveTimeSliced(m_desiredWaveNum) > 0)
				{
					IsUpdating = false;
					m_updateState = UpdateState.None;
				}
			}
			break;
		default:
			break;
	}
}
Props are the only objects that require instantiating, due to how different they can be, I plan to look into methods to make this faster. This is timesliced so only one instantiate happens per frame for now. You can see the timesliced level gen in realtime, it is broken up by wall sides and height.
Mesh Effects
To provide room specific mesh effects before generating the room I instance all materials to be used with the room ID which it uses to index into the global cbuffer with color data.
// not using coroutines for the main geo, instead just build it slowly in update()
public void BuildGeometryTimeSliced(InfVisualConfig visualConfig, LevelInfinity manager)
{
	m_manager = manager;
	visualConfig.InstanceWallMaterials(m_nodeID); // instance it everytime

	Material floorMat = new Material(visualConfig.GetFloorMaterial());
	floorMat.SetFloat("roomID", m_nodeID);

	m_geometry.InitPlaceMeshes(ref visualConfig.WallMeshData, floorMat);

	if (m_geometry.GeneratePlatforms(visualConfig))
	{
		for (int i = 0; i < m_geometry.PlatformMaterials.Length; i++)
			m_geometry.PlatformMaterials[i].SetFloat("roomID", m_nodeID);
	}

	for (int i = 0; i < visualConfig.Props.Length; i++)
	{
		visualConfig.Props[i].InstanceMaterialsWithFloat("roomID", m_nodeID);
	}
	visualConfig.DoorMesh.InstanceMaterialsWithFloat("roomID", m_nodeID);
	visualConfig.FinalDoorMesh.InstanceMaterialsWithFloat("roomID", m_nodeID);

	m_geometry.InitGenerateProps(ref visualConfig.Props);

	int length = m_geometryChildren.Length;
	for (int i = 0; i < length; i++)
	{
		m_geometryChildren[i].InitPlaceMeshes(ref visualConfig.WallMeshData, floorMat);
		m_geometryChildren[i].InitGenerateProps(ref visualConfig.Props);
	}

	m_updateState = UpdateState.Geometry;
	IsUpdating = true; // we start updating
}
TO BE EXPANDED!
Nature Rendering
A stylized grass rendering demo with gpu culling, some physics interactions, and adjustable/dynamic grass placement. This grass renderer is made for my yet to be released game Origami Ninja Star, which is a game in a stylized paper world. The game is split into seamless procedurally generated rooms, this renderer is built for those requirements.
It demonstrates: using custom URP shaders (not shadergraph), creating a custom SRP renderfeature, indirect instanced rendering, compute shaders, and gpu culling all in Unity.
AI Navigation
Unity’s new navigation system is able to run fairly well in realtime, and means there is not a lot of effort to create a navmesh when generating rooms. Each room has its own NavMesh component and after geometry has finished generating I create a new NavMeshData and run the update function which handles its own timeslicing and will return when finished.
m_navMeshData = new UnityEngine.AI.NavMeshData();
m_navMesh.navMeshData = m_navMeshData;
m_navMesh.UpdateNavMesh(m_navMeshData).completed += FinishBuildGeometry;
TODO!